Orders
To create a new order, click the "New order" button in the project panel. This will open a window with three main sections:
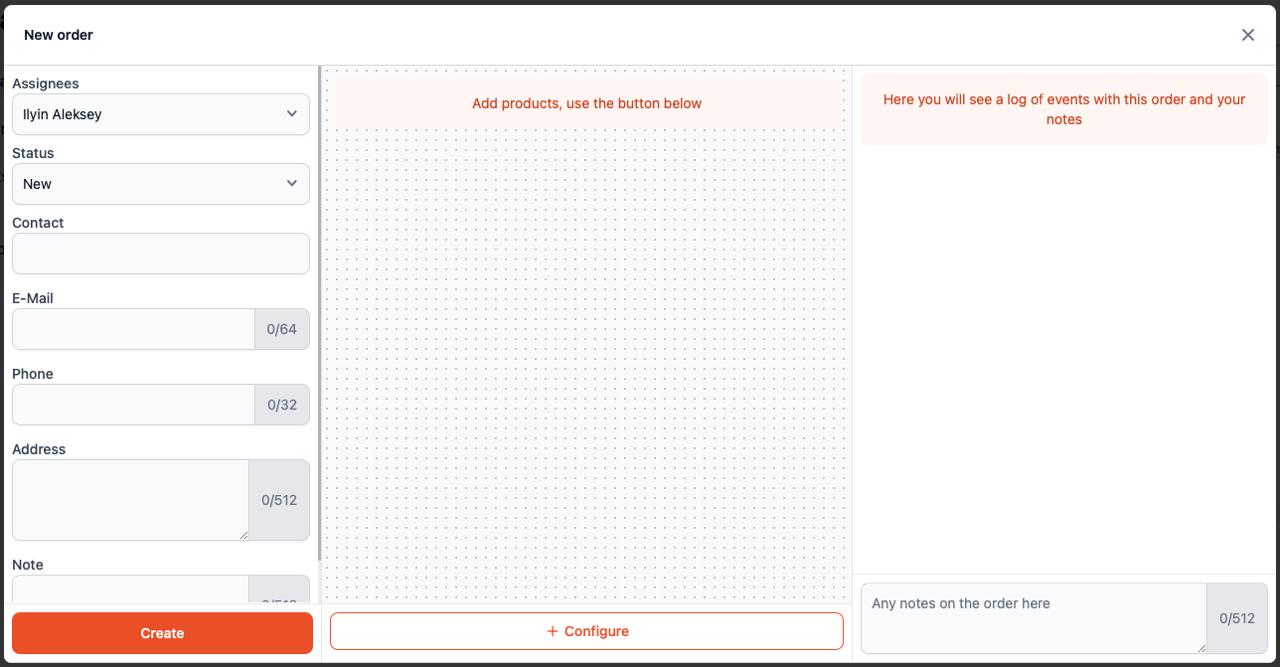
Left Section: Order and Contact Info
In the left section, you can:
- Assign a responsible person using the Assignees dropdown.
- Set the current Status of the order (e.g.,
New,In Progress, etc.). - Enter customer contact details:
- Contact name
- E-mail (max 64 characters)
- Phone (max 32 characters)
- Address (max 512 characters)
- Note (internal comment, max 512 characters)
This section helps keep all essential order and client data organized.
Center Section: Products and Configuration
Initially, the center section prompts:
Add products, use the button below
To add a product, click the Configure button:

You'll be prompted to select a product configurator (e.g., Inset plissé). After selecting it, a detailed configuration window will appear:
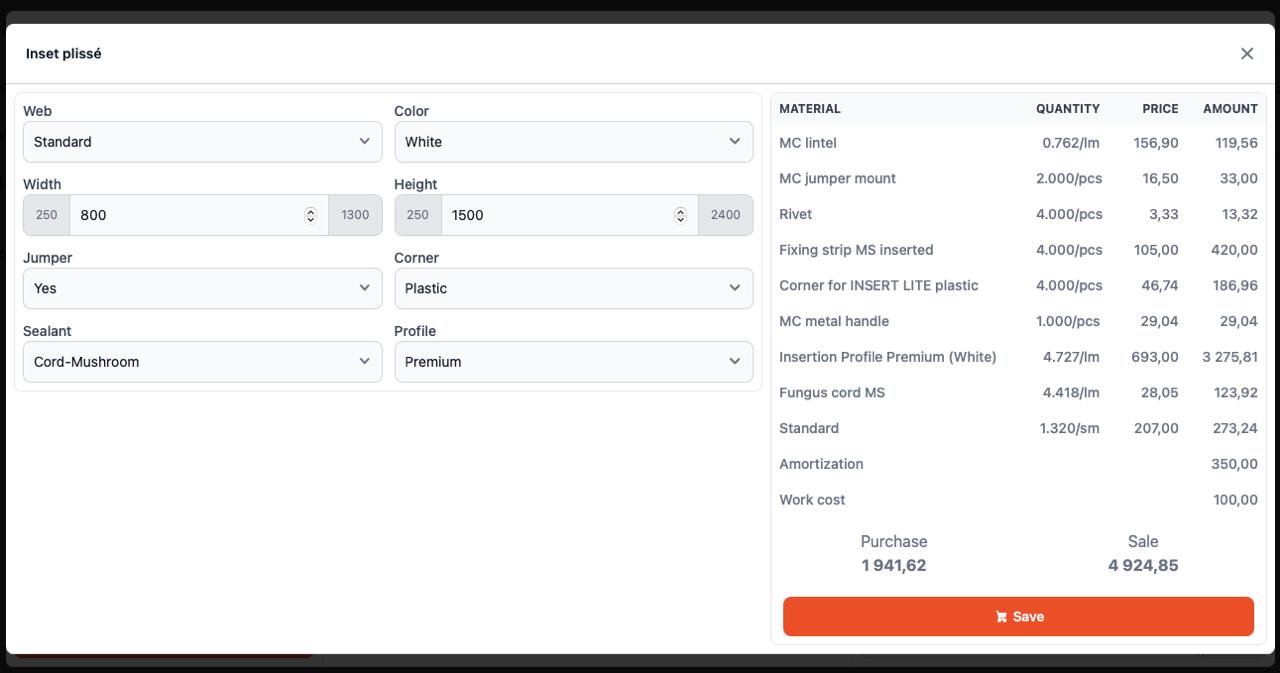
In the configurator, you can:
- Select product parameters (e.g., Web, Color, Width, Height, Jumper, Sealant, etc.)
- See a material breakdown with:
- Quantity
- Unit price
- Total amount
- View calculated:
- Purchase cost
- Sale price
Click Save to add the configured item to the order.
Right Section: Order History and Notes
The right-hand panel contains a log of all activity related to the order. Here, you can:
- Review a chronological log of order changes
- Keep internal notes or track communication with the client
Final Step: Save the Order
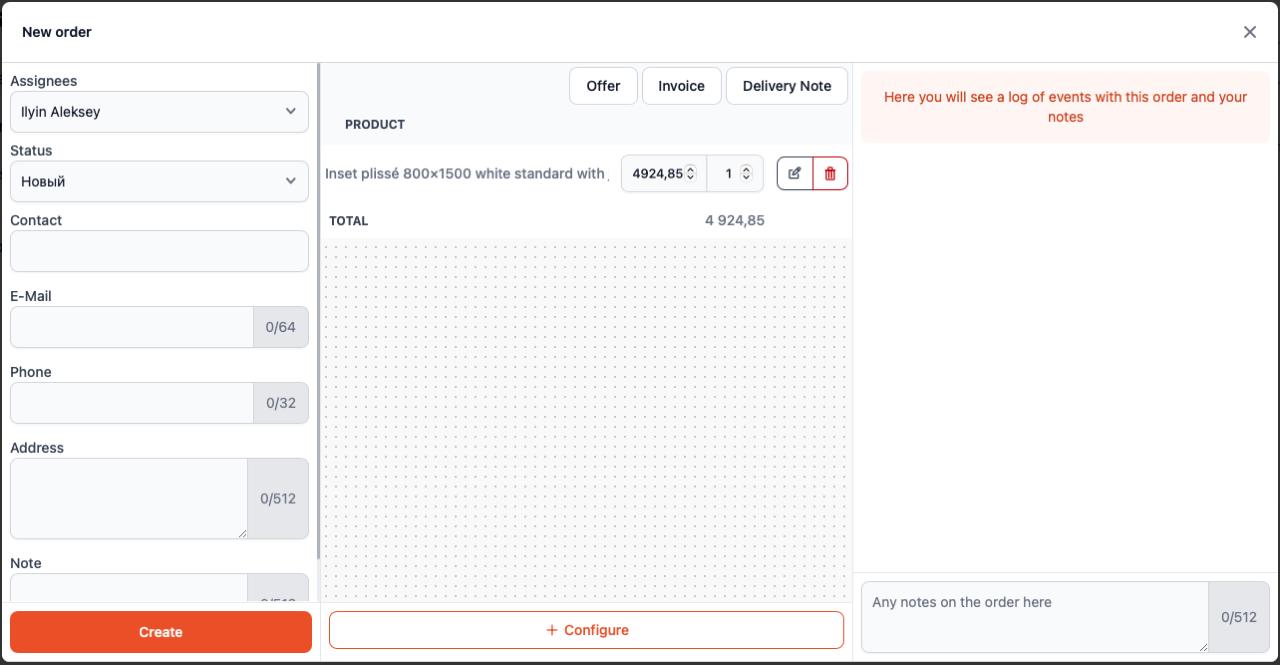
Once all necessary data and products have been added, click the Create or Save button to confirm and save the order.